Dolls are not just a toy, they can be a child’s companion, confidant, and even a creative outlet. Instead of buying expensive dolls from stores, children can make their dolls with simple materials and unleash their creativity. This DIY project is not only fun but also helps children improve their fine motor skills, and problem-solving skills, and boosts their confidence. In this article, we will guide you on how to make dolls with your children and provide some creative ideas to make them more fun.
1. Introduction
DIY doll-making is an enjoyable and creative activity that parents can do with their children. It is a cost-effective and eco-friendly way to create unique and personalized dolls. Making dolls allows children to use their imagination and creativity to design a doll that reflects their personality and interests. In this article, we will guide you through the process of making dolls with your children and provide some ideas to make it even more fun.
2. Benefits of DIY Doll-Making for Kids
DIY doll-making has numerous benefits for children. It improves their fine motor skills, hand-eye coordination, and problem-solving skills. Making dolls requires children to use their creativity and imagination, which helps them develop their cognitive and emotional skills. DIY doll-making is also a great way to bond with children and spend quality time together.
3. Supplies Required for DIY Doll-Making
To make a basic cloth doll, you will need the following supplies:
- Fabric (cotton or linen)
- Scissors
- Sewing needles
- Thread
- Stuffing material (cotton or polyester fiberfill)
- Embroidery thread
- Buttons, ribbons, or other decorations
- Glue
4. Step-by-Step Guide on Making a Cloth Doll
Step 1: Preparing the Materials
Choose a fabric of your choice, cut it into two pieces, and place them together with the right sides facing each other. Use a fabric pen to draw the doll’s shape, leaving a 1 cm seam allowance around the edges.
Step 2: Cutting the Fabric
Cut out the doll’s shape from the fabric, leaving a 1 cm seam allowance around the edges.
Step 3: Sewing the Body Parts
Sew the doll’s body parts together, leaving an opening for stuffing. Turn the fabric inside out and stuff it with cotton or polyester fiberfill.
Step 4: Stuffing and Shaping the Doll
Shape the doll by adding more stuffing where needed. Sew the opening shut.
Step 5: Decorating the Doll
Use embroidery thread, buttons, ribbons, or other decorations to add details to the doll. Use glue to attach the decorations to the doll.
5. Creative Ideas for Making Dolls
Apart from cloth dolls, there are many other creative ideas for making dolls with your children. Here are some of them:
Idea 1: Making a Sock Doll
Making a sock doll is a simple and fun activity that children of all ages can enjoy. To make a sock doll, you will need a pair of socks, scissors, and stuffing material. Follow these steps to make a sock doll:
- Choose a pair of socks and cut off the toe section.
- Turn the socks inside out and sew the heel area shut.
- Stuff the socks with cotton or polyester fiberfill, leaving a small area at the top unstuffed.
- Tie a string or rubber band around the unstuffed area to form the head.
- Use embroidery thread, buttons, or other decorations to add details to the doll.
Idea 2: Making a Paper Doll
Making paper dolls is a great way to encourage children’s creativity and imagination. To make a paper doll, you will need paper, scissors, and crayons or markers. Follow these steps to make a paper doll:
- Fold a piece of paper in half.
- Outline a doll on one side of the paper, making sure to include tabs on the sides.
- Cut out the doll and the tabs.
- Color and decorate the doll as desired.
- Fold the tabs over the doll’s body and use them to attach different clothes and accessories to the doll.
Idea 3: Making a Doll with Clay
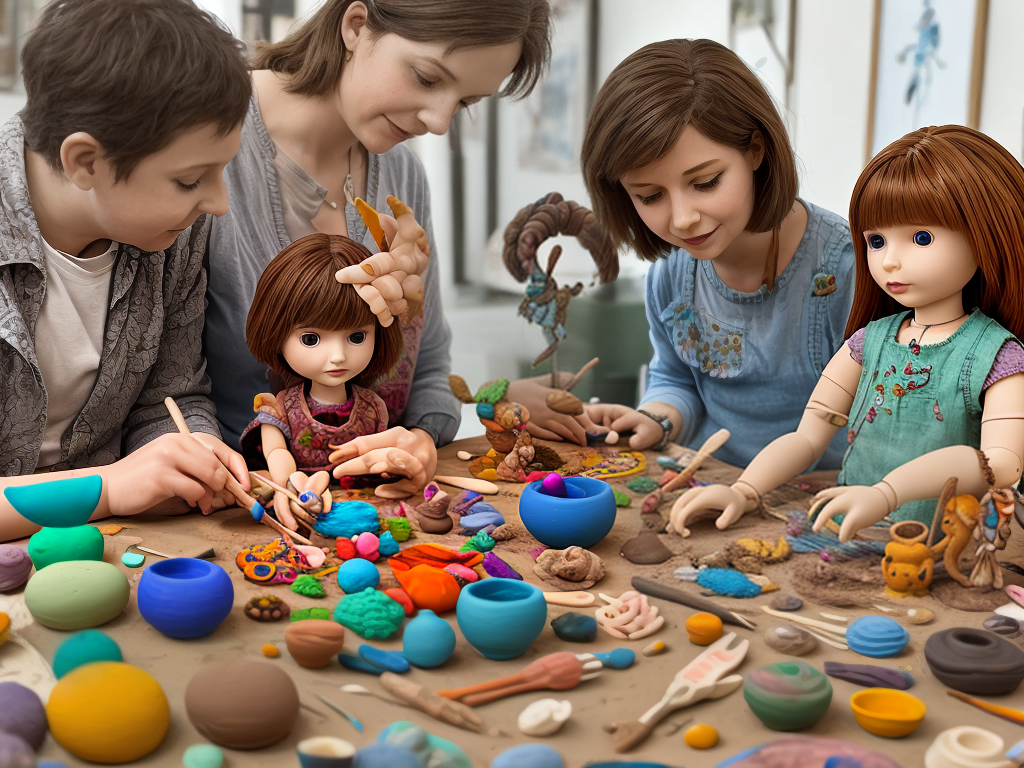
Making a doll with clay is a fun and creative activity that allows children to explore different shapes and textures. To make a clay doll, you will need clay, a toothpick or wooden stick, and acrylic paint. Follow these steps to make a clay doll:
- Roll a piece of clay into a ball to form the doll’s head.
- Use a toothpick or wooden stick to make a hole in the head for the eyes.
- Roll out a piece of clay to form the body and arms of the doll.
- Attach the head to the body and shape the arms as desired.
- Use acrylic paint to add details to the doll, such as hair, clothes, and facial features.
6. Safety Tips for DIY Doll-Making
DIY doll-making is a fun and safe activity for children, but it’s important to follow some safety tips to ensure that everyone stays safe:
- Always supervise children when they are using scissors, needles, or other sharp objects.
- Use non-toxic materials when making dolls.
- Be careful when using hot glue guns or other heating tools.
- Make sure that children wash their hands before and after making dolls.
7. Conclusion
DIY doll-making is a fun and creative activity that children of all ages can enjoy. It’s a great way to encourage their creativity, improve their fine motor skills, and spend quality time together. With the simple steps outlined in this article, parents and children can make unique and personalized dolls that they will cherish for years to come.